
More help:
NWEA Support
Have an idea?
Share it!
Proctor Quick Start
Are you new to the Proctor role? This page guides you through the main steps:
Also reference the Testing Tips for common questions.
Explore the video series below or view the videos on Vimeo.
![]() Print Resources:
Print Resources:
Set Up Testing in MAP
-
Log in at start.mapnwea.org.
-
Choose MAP Growth.
-
Select Manage Test Sessions.
-
Follow Option 1, 2, or 3 (outlined below) to create a testing session. This will allow you to group students so you can administer testing and has no effect on reporting.
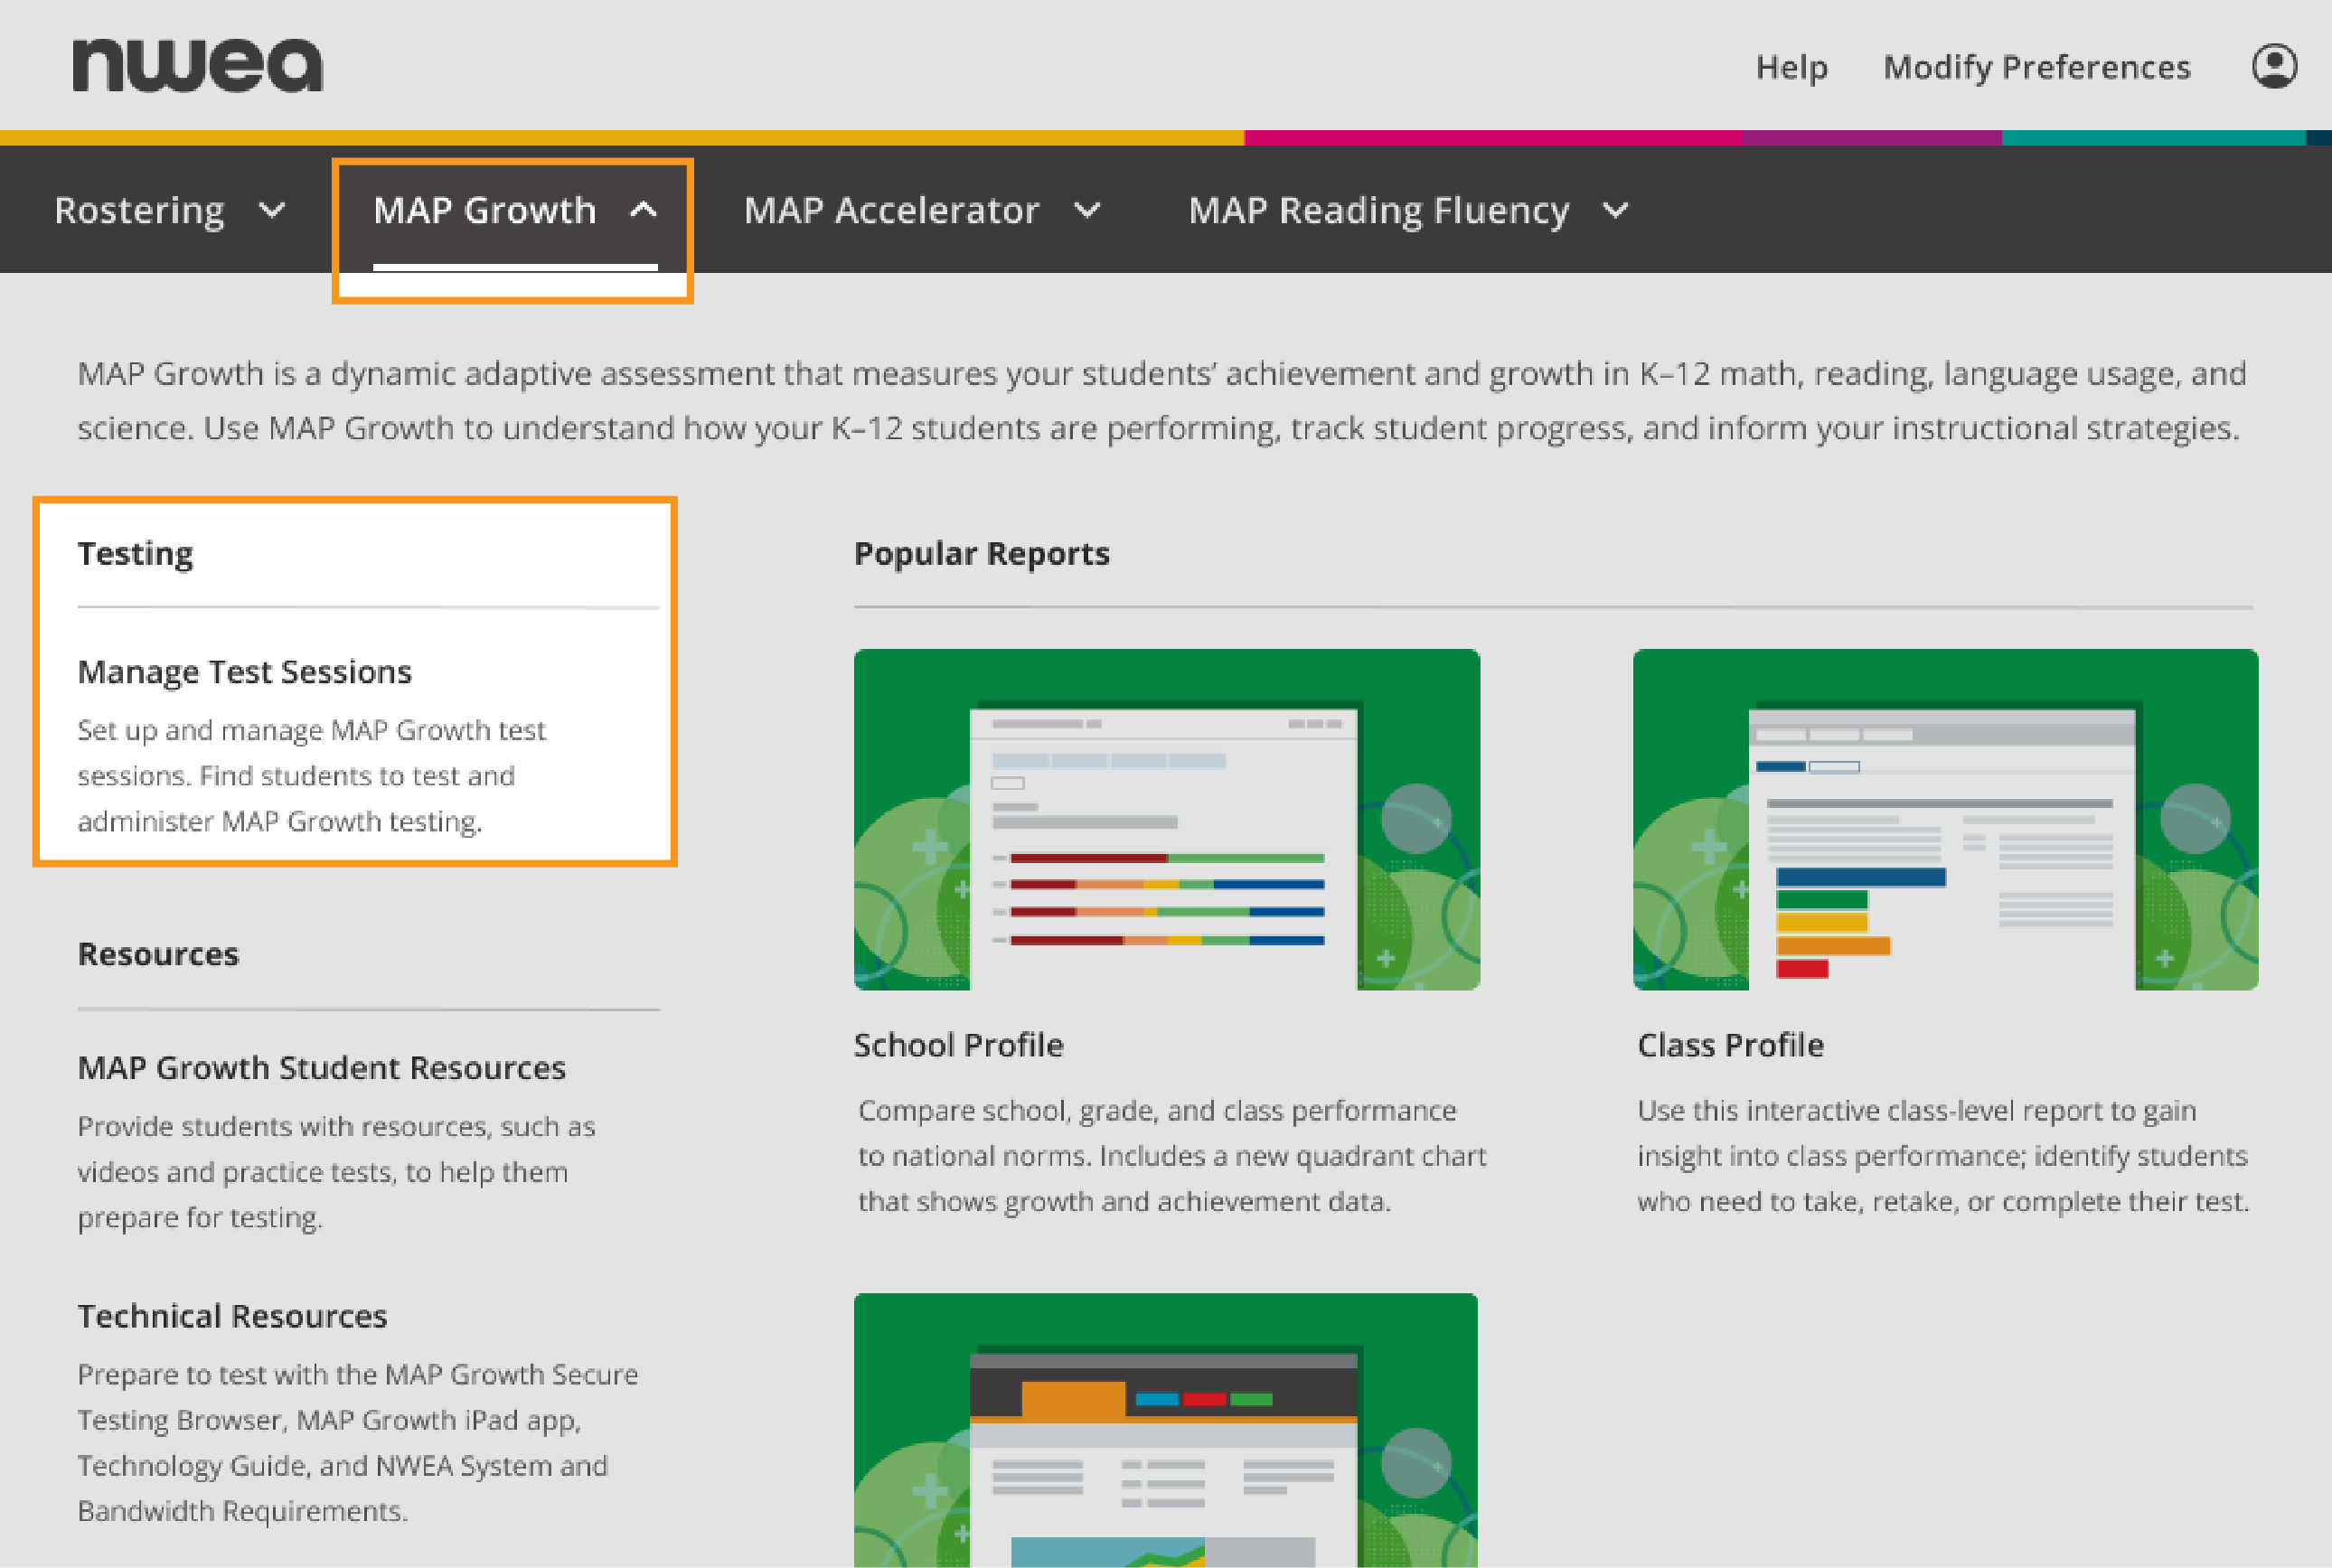
MAP Growth main menu with Manage Test sessions highlighted.
Option 1—Find Students to Test
This option is useful for preparing an arbitrary group of students ahead of time.
- Select Find Students to Test.
-
Choose criteria and select Search.
-
Review the search results and select Add Students.

-
Repeat the search as needed.
Keep the student count below 100; too many students can slow the sign-in.
If a student is missing, try using <No School Assigned> in the criteria.
If you need to add a student, contact a school leader for instructions.
- Select students and make needed assignments (each student can have a different assignment):
- Select Assign Test and select a test from the list.
-
Select Assign Accommodations if a student requires accommodations, including Text-to-Speech.
For more guidance, see Assignments for tests, accommodations, or Text-to-Speech.
-
If you plan to use this testing session at a later time, select Save Session.
Use a name that’s unique and easy to type. Avoid spaces, special characters, and capital letters. Examples: jbmath72 (your initials +subject +grade +period) or 21eagle918 (room +mascot +month +year)
- If you need to test immediately, select Test Now.
Option 2—Test My Class
Use this option if you’re testing your own class of students.
-
Select Test My Class.
If the button doesn't work, your MAP profile was not associated with a class of students for this term. (This association must happen every testing term.)
-
Select one of your classes, if prompted.
The Proctor console appears and the testing session starts.
- Select students and make needed assignments (each student can have a different assignment):
- Select Assign Test and select a test from the list.
-
Select Assign Accommodations if a student requires accommodations, including Text-to-Speech.
For more guidance, see Assignments for tests, accommodations, or Text-to-Speech.
Option 3—Use Saved Testing Session
Use this option if a session was already created and saved by you or someone in your school or district.
-
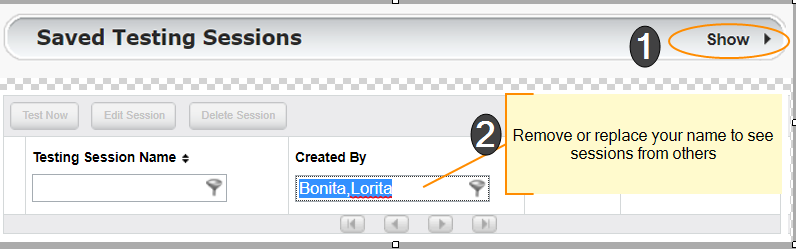
Select Show next to Saved Testing Sessions.
-
To see testing sessions created by others, change Created By.
Note: Access may be limited. With the School Proctor role, you can only access sessions created by someone with the District Proctor role.
-
When you find and select a testing session, choose Test Now.
If not available, you already have a session running (you can only run one at a time). Select Return to Testing.
Assignments for tests, accommodations, or Text-to-Speech
When making test assignments, refer to the following table of test naming conventions. As shown, many tests have screen reader compatible version.
| Test Type | Subject and Grades | State and Adoption Year of Academic Standard | Version for students with blindness and low-vision* | |
|---|---|---|---|---|
| Examples | Growth | Math 6+ | NY 2017 | (Screen Reader Compatible) |
| Growth | Math 6+ | NY 2017 | ||
| Growth | Reading K–2 | NY 2017 | ||
| Screening | Science 6–8 | NY 2016 | (with Screen Reader Compatibility) |
* Only applicable for some tests.
When assigning accommodations, select all the assistance you plan to provide so it is permanently recorded with the test. You cannot change these assignments once the student starts testing, unless you suspend the test and ask the student to rejoin the testing session.
Text-to-Speech is one of the accommodation choices. It is intended for sighted students, such as English language learners, and it enables audio tools that appear within the test toolbar.
For details, see Accommodations and Accessibility and also Text-to-Speech Accommodation.
Student Sign-in
Before students arrive
-
On your Proctor console, you should now see the Test Students page. If not, select Test Now.

-
At the top, look for the Session Name and Password.
-
Write or display this name and password on a board for all students to copy during sign-in.
Note: The password regenerates every time you start a session and will expire overnight.
When students arrive

-
On student testing devices, students start the NWEA secure testing browser or app.
Or, if your school will be testing with a browser only, you can direct students to: test.mapnwea.org.
-
Ask students to learn about MAP Growth with the following choices on their log-in page:
-
Try the Practice Test (about 5 non-scored, sample questions).
Username and Password are grow.
-
Student Resources (explanatory videos about the test, tools, and test engagement).
- Or, read the Student Directions Script.
-
Confirm students to start
Confirm students every few minutes, as students are ready.

-
On student testing devices, guide students to complete their prompts.
Note: Spanish-speaking students can choose to see translated instructions.
- As needed, check whether students have chosen correctly.
- On your Proctor console, select Refresh Page to see which students have the “To Be Confirmed” status.
-
Select Confirm. This confirms all students with "To Be Confirmed" status.
Or, to select individual students, choose Select Action and then Confirm.
-
Students: Select Start Test.
Tip: If your internet connection is slow, ask students to start a few at a time, rather than all at once.
See also: Student Sign-In Tips for common sign-in issues.
Pause, Suspend, or Terminate
To control a student’s test, select the student and choose from the Select Action menu:
| Action | Duration | Follow-up Action | What to Expect |
|---|---|---|---|
| Pause* | Up to 25 minutes | Resume |
–Student must resume from the same device |
| Suspend | Up to 28 days |
Test Again |
Test will continue with the next question |
|
–or– Resume Test prompt (another day) |
Continue testing with either the saved testing session or a newly created testing session, whichever is more convenient 14 days is the recommended limit because too many days of instruction between testing could influence the score |
||
| Terminate | Permanent |
Test Again
|
Caution: System discards any answers given for the terminated test; use only if the wrong test was assigned |
*Other pauses: To pause on the student testing computer, select: Ctrl+Shift+P (or Ctrl+Shift+L) and enter the PIN from your console. Learn more about Proctor Shortcut Keys. For information about the automatic pause from rapid guessing, see Test Engagement and Rapid Guessing.